Having a functional and visually appealing RV shower glass panel is essential for enhancing your overall travel experience. In this article, we will explore expert tips and creative solutions to easily replace your RV shower glass panel, providing you with a transformative upgrade that will elevate your RV lifestyle.
Types of RV Shower Glass Panels:
When considering a replacement, it is important to understand the different types of shower glass panels available for RVs. Common options include tempered glass, laminated glass, and acrylic panels.
Tempered glass panels have gained popularity due to their durability and strength. They are resistant to impacts and scratches, making them a long-lasting and low-maintenance option.
Laminated glass panels, on the other hand, are designed to provide additional safety, as they hold together even when shattered.
Acrylic panels offer a lightweight and affordable alternative, but they may not have the same level of durability as glass.
Each type has its pros and cons, so it’s essential to consider factors such as durability, cost-efficiency, and style before making a decision. Ultimately, the choice should align with your specific needs and preferences.
Assessing the Condition of RV Shower Glass Panel:
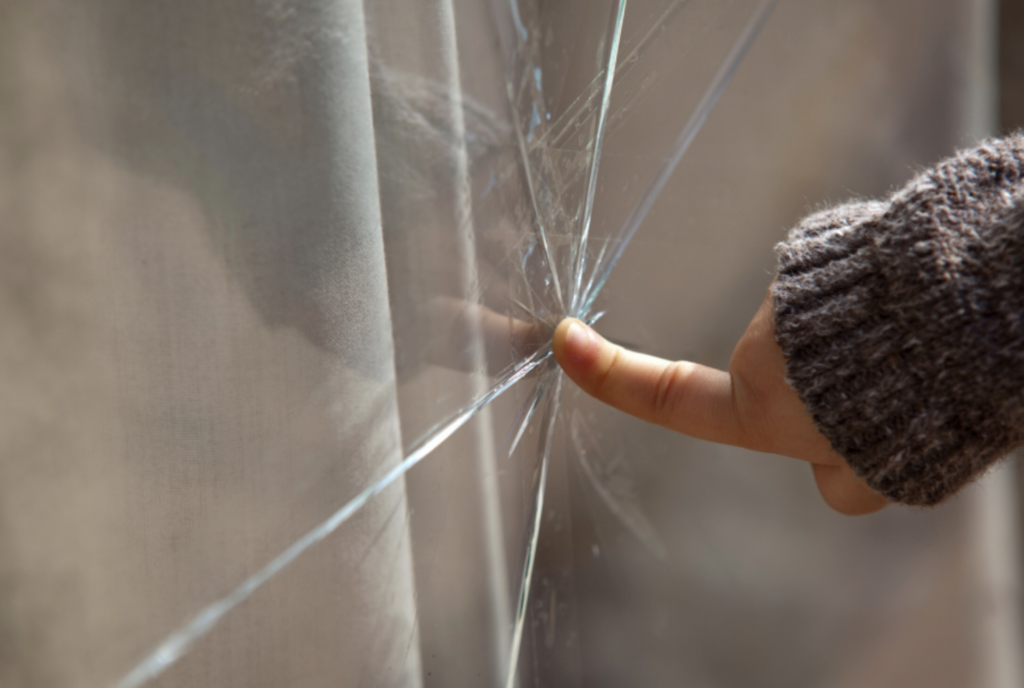
Before embarking on the replacement process, it is crucial to assess the condition of your current shower glass panel. Inspect the panel for signs of wear and tear, such as cracks, chips, or discoloration. These are indications that a replacement is necessary to prevent further damage and maintain the functionality of your bathroom.
Whole Process Checklist to Replace RV Shower Glass
– Measure and purchase the correct glass panel:
Carefully measure the dimensions of the existing shower glass panel to ensure you purchase the correct replacement. Measure the height, width, and thickness of the panel, as well as any specific features or shape requirements.
– Remove the old glass panel:
Begin by removing any screws or brackets that hold the panel in place. Gently pry it off using a putty knife or a similar tool, being cautious not to scratch the surrounding surfaces. Clean up any remaining adhesive or sealant residue.
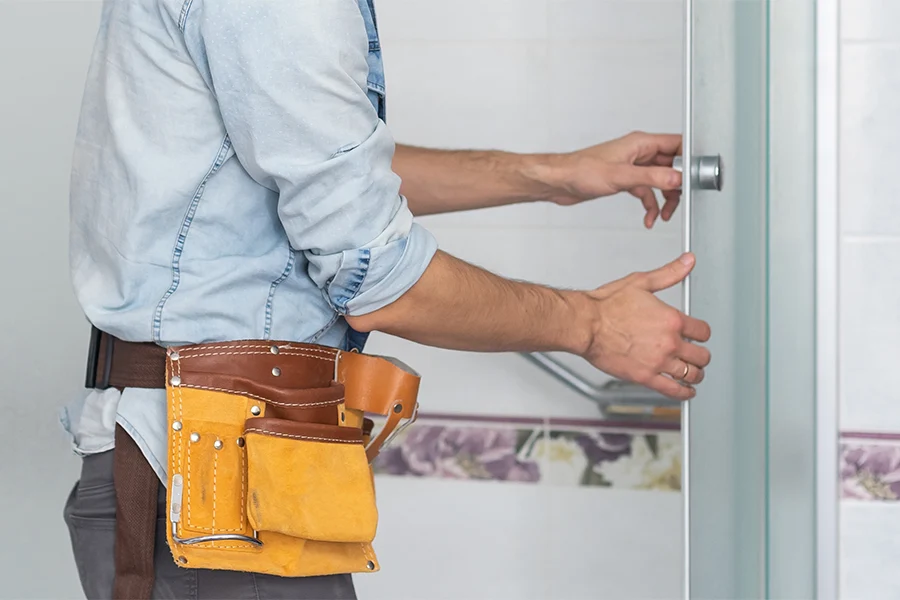
– Install new brackets or supports:
If necessary, install new brackets or supports for the replacement glass panel. Follow the manufacturer’s instructions and use appropriate tools to securely attach these components to the shower walls or surrounding structure.
– Apply adhesive or sealant:
Before placing the new glass panel, apply a waterproof adhesive or sealant to the edges of the shower walls or brackets. This will provide a secure and watertight seal.
– Carefully position the new glass panel:
With the adhesive or sealant applied, carefully position the replacement glass panel in the designated space. Ensure it aligns properly with any brackets or supports.
– Secure the panel in place:
Use screws or appropriate fasteners to secure the new glass panel to the brackets or supports. Be cautious not to overtighten, as it may cause damage to the glass.
– Clean and inspect:
Clean the surface of the newly installed glass panel using a non-abrasive cleaner or glass cleaner. Inspect the surrounding area for any signs of damage or leaks, and make any necessary adjustments or repairs.
– Apply waterproof sealant:
To further reinforce the seal and prevent water leakage, apply a waterproof sealant around the edges of the glass panel. Follow the manufacturer’s guidelines for application and drying time.
– Test for functionality and leaks:
Run water in the shower to test the functionality of the new glass panel. Check for any leaks or water seepage around the edges or joints. If any issues are detected, make the necessary adjustments or seek professional assistance.
Finishing Touches and Customization:
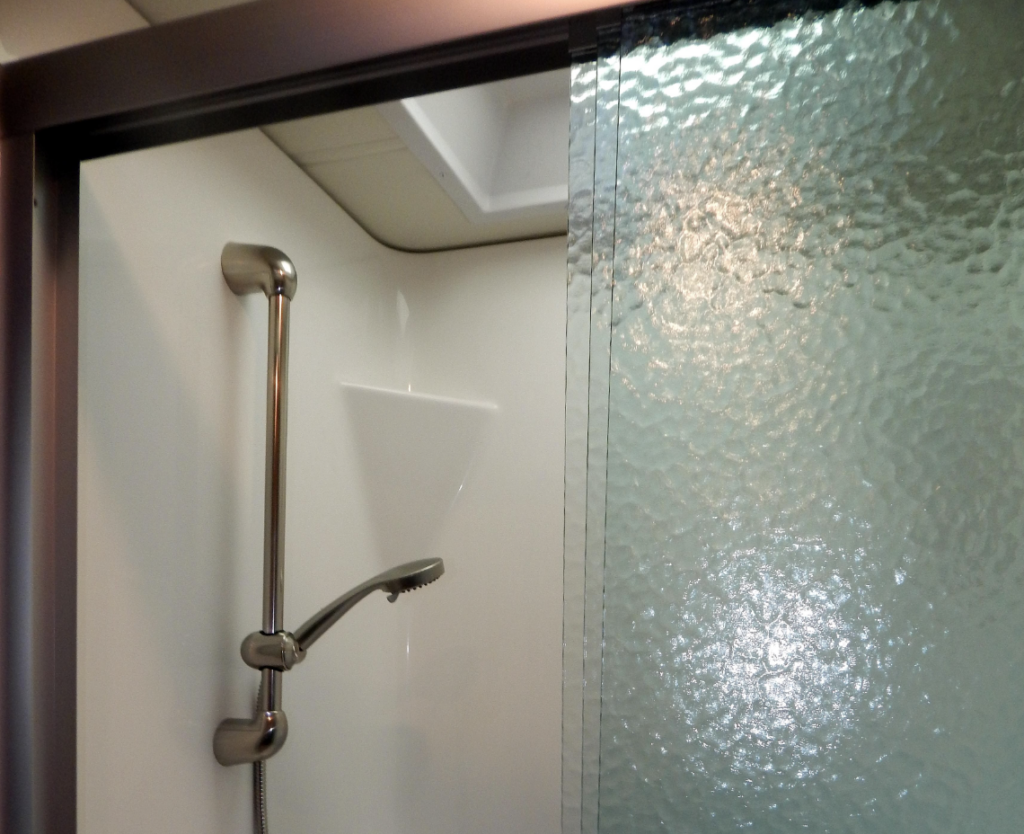
To further enhance the appearance and functionality of your new glass panel, consider adding finishing touches and customization options. Decorative elements such as etched designs or frosted glass can add a touch of elegance. Additionally, investing in privacy-enhancing features like blinds or privacy films can provide a sense of seclusion while maintaining functionality.
Tips for Extending the Lifespan of RV Shower Glass Panel
To prolong the lifespan of your newly installed glass panel, regular maintenance is crucial. Clean the panel using non-abrasive cleaners and soft cloths to avoid scratching the surface. Additionally, consider using preventive measures like applying protective coatings to minimize the buildup of soap scum and water stains. Regular inspections can help identify any potential issues early on and prevent major damages.
Troubleshooting Common Issues with RV Shower Glass Panels:
While a properly installed and maintained shower glass panel can provide a seamless experience, some common issues may arise.
Problems like loose hardware or a compromised seal can lead to water leakage. To tackle these issues, ensure the panel is securely tightened and address any gaps in the sealing. Regularly inspecting and addressing any potential problems will help maintain the functionality of your glass panel.
Conclusion:
Replacing your RV shower glass panel is a transformative upgrade that can enhance your overall bathroom experience. By considering factors such as panel type, installation process, and maintenance tips, you can ensure a seamless and long-lasting upgrade. Take action today and enjoy the benefits of a new RV shower glass panel – elevate your RV lifestyle and indulge in the luxury of a well-designed and functional bathroom.