

Elegant Custom Hinged Shower Door

Thick tempered glass and top-notch hardware make qualified hinged shower doors. Hinged shower doors add a modern look to the interior setting. Custom design is available.

Home

>

By Door Types

>

Hinged Shower Door

Explore Popular Hinged Shower Door Models

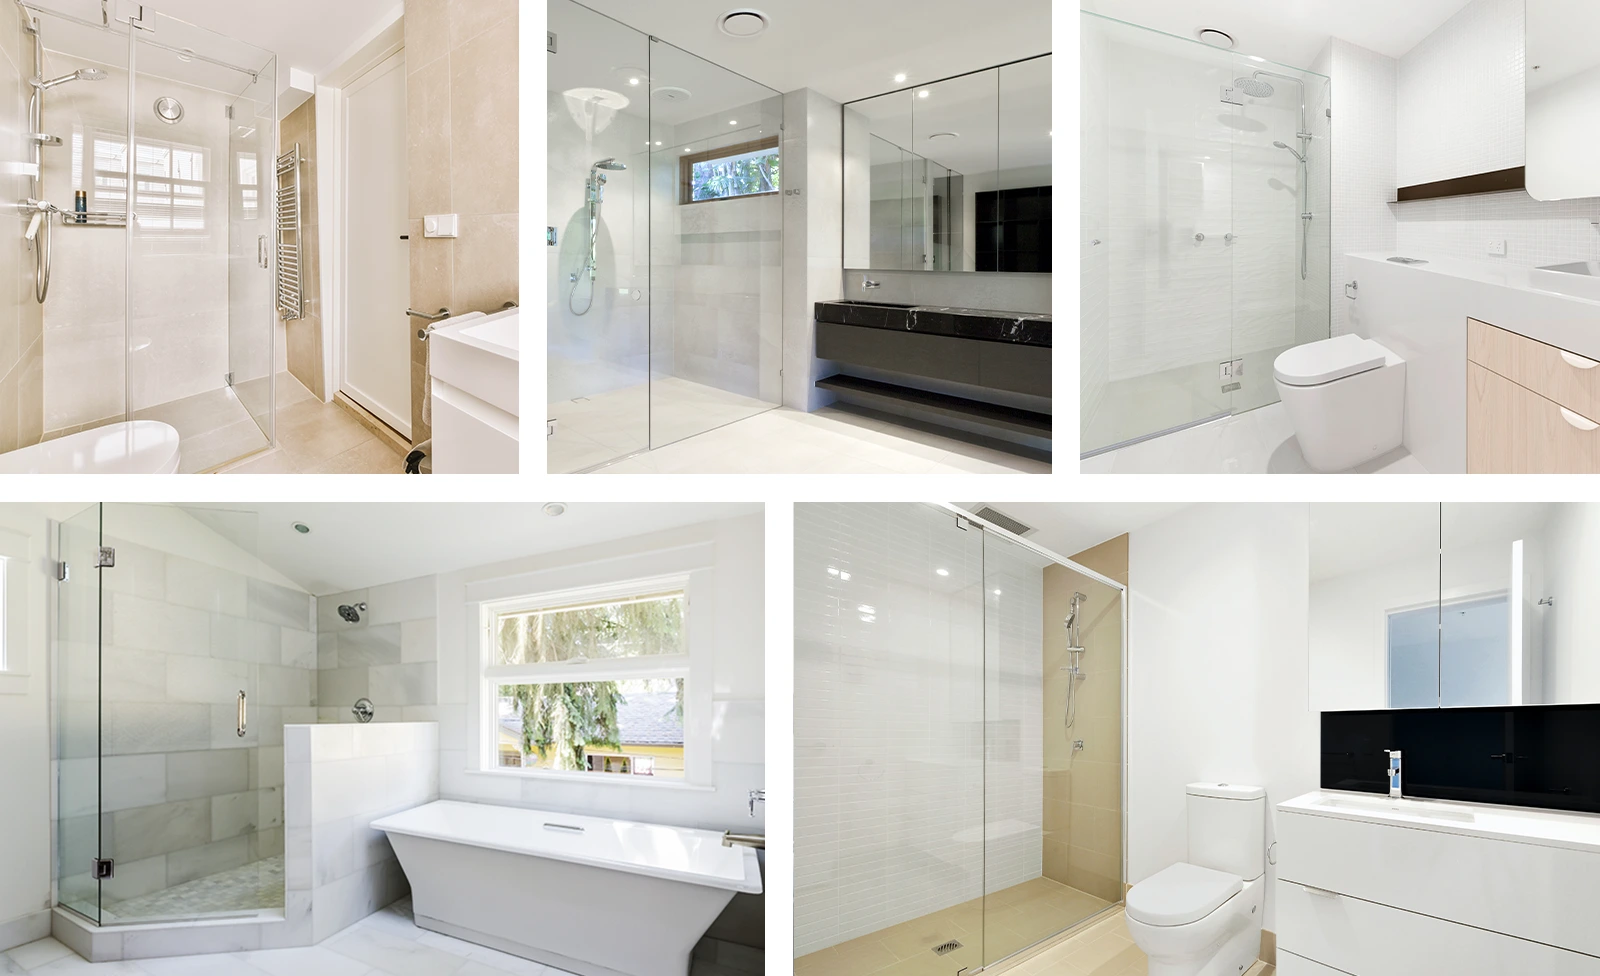
Popular shower enclosures include corner shower enclosures, quadrant shower enclosures, etc., elevating your interior structure.
Thickness (mm):8mm/10mm
Height:≤2200mm
Width:(914+1219)mm/(800+1200)mm
Finish
Thickness (mm):8mm/10mm
Height:≤2200mm
Width:(914+914)/(900+900)
Finish
Thickness (mm):8mm/10mm
Height:1800-2200mm
Width:(900-1500)mm
Finish
Thickness (mm):8mm/10mm
Height:1800-2200mm
Width:(1200-1600)mm
Finish
Thickness (mm):8mm/10mm
Height:≤2200mm
Width:850-1600mm
Finish
Thickness (mm):8mm/10mm
Height:≤2200
Width:1200-1800mm
Finish
Thickness (mm):8mm/10mm
Height:≤2200mm
Width:900-1500mm
Finish
Thickness (mm):8mm/10mm
Height:≤2200mm
Width:700-1000mm
Finish
Thickness (mm):8mm/10mm
Height:≤2200mm
Width:700-1000mm
Finish

Design Overview

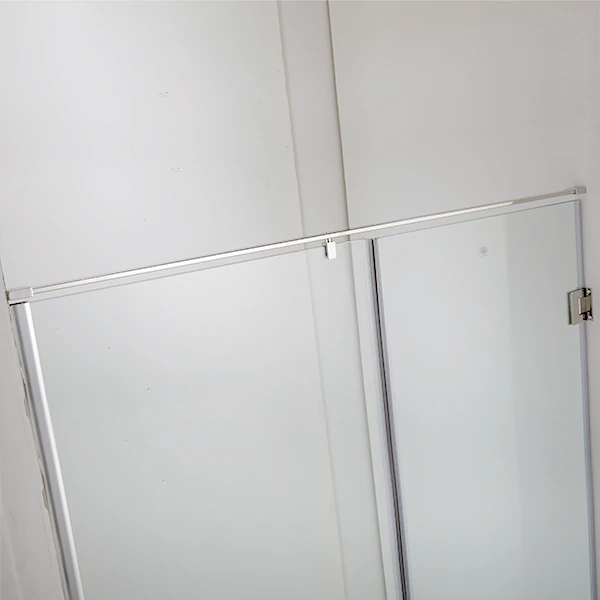
1、Stable Supporting Bar

Additional stainless steel 304 bar enhances the safety of the toughened shower enclosure. Supporting bars are adjustable to stabilize the fixed glass panels.

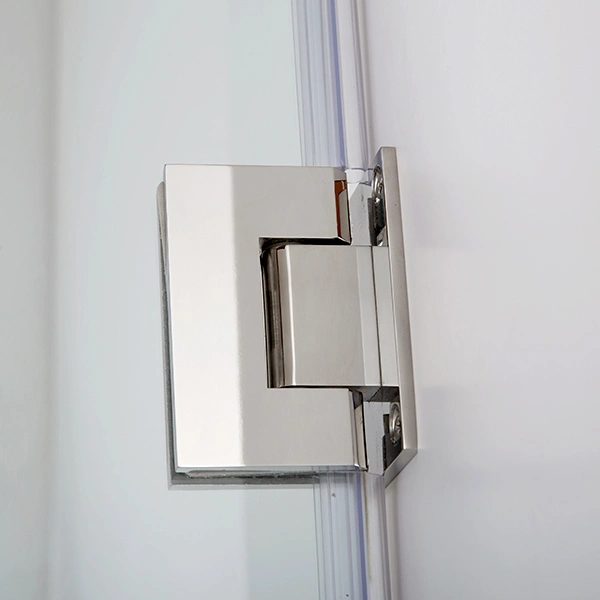
2、Stainless Steel Hinges

A wide range of hinges, such as glass to glass, glass to wall stainless steel hinges for selections can be customized to your demands.

3、Multifunctional Towel Bar

It can work as a bar for hanging clothes and towels, as well as a handle for opening and closing.

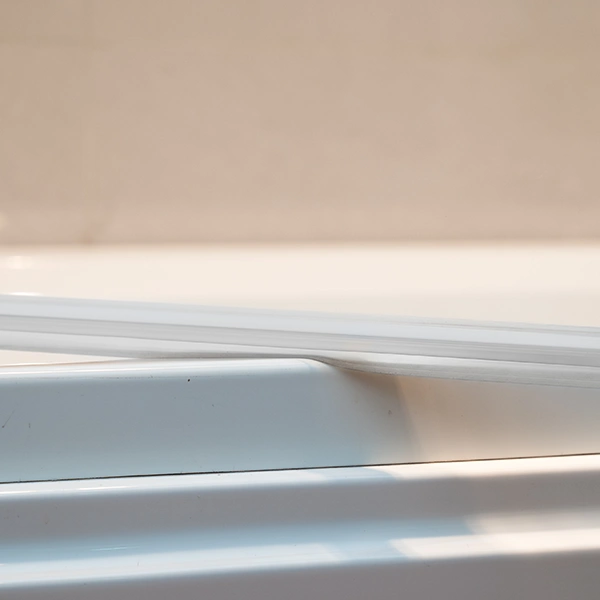
4、PVC Magnetic Seals

A broad range of magnetic PVC seals can be customized based on door types. No water leakage and low noise.

Trustworthy Features that Promote Business

Large Opening

Inwards or outwards, opening from left or right. Suitable for stand-alone shower stalls.

Easy Cleaning

Nano glass prevents mold and mildew buildup. Besides, there's no track at the bottom, which means easier cleaning.

Stable & Strong Structure

Stainless steel hardware at the bottom of the shower doors ensures both structural stability and functional feasibility.

Seamless Design

With minimal hardware, hinged shower doors are aesthetically valuable, fitting perfectly with various room designs.

What Is the Difference Between Hinge and Pivot Shower Doors?

FeatureHinge Shower DoorsPivot Shower Doors
Door MovementSwings open and closed on a pivot hingeSwings open and closed on a pivot hinge
Clearance SpaceRequires adequate clearance space for the door to swingRequires less clearance space as the door pivots around a fixed point
Entry SizeEntry size may be narrower compared to pivot doorsProvides wider entry point with a full-width opening
InstallationRequires precise alignment and mounting of hinges on the wall and doorRequires precise alignment and mounting of pivot hinge on the wall
Water SealingRequires seals or gaskets to prevent water leakageRequires seals or gaskets to prevent water leakage
Space ConsiderationsRequires additional space for door swingSuitable for smaller bathrooms or tight spaces due to its pivot motion

How to Install a Hinged Glass Shower Door?

a man instal the shower door

1. Gather your supplies

You’ll need a hinged glass shower door kit, a drill, screws, anchors, a measuring tape, a level, a pencil, a silicone sealant, and a screwdriver.

2. Measure and mark

Use a measuring tape to determine the desired height and position of the hinges on the shower frame or wall. Mark these spots accurately.

3. Attach hinges to the wall

Follow manufacturer instructions to position hinge plates on the marked spots. Drill pilot holes, insert anchors if necessary, and secure with screws.

4. Attach hinges to the glass door

Carefully align the hinge plates on the door with those on the wall. Mark screw hole positions on the glass door, drill pilot holes, and securely attach hinges using screws, avoiding glass damage. Ensure door is level and properly aligned.
5. Seal the door and hinges

Apply a thin bead of silicone sealant around the edges of the glass door and hinge plates to create a watertight seal. Smooth out the sealant using a caulk smoothing tool or a wet finger.

6. Test the door

Open and close the glass door to ensure smooth operation and proper alignment. Make any necessary adjustments if the door is not closing properly or if it is not level.