يعد وجود لوحة زجاجية للاستحمام RV عملية وجذابة بصريًا أمرًا ضروريًا لتعزيز تجربة السفر بشكل عام. في هذا المقال, سنستكشف نصائح الخبراء والحلول الإبداعية لاستبدال لوحة زجاج الدش RV بسهولة, نوفر لك ترقية تحويلية من شأنها رفع مستوى نمط حياتك في المركبات الترفيهية.

أنواع ألواح زجاج الدش RV:
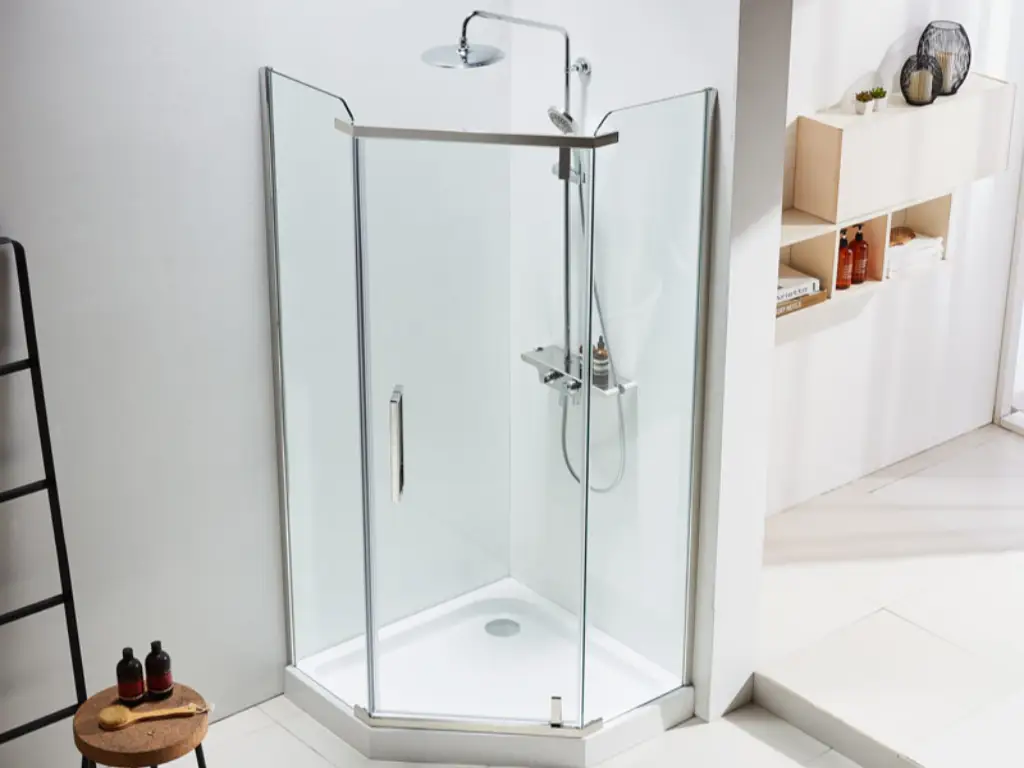
عند التفكير في الاستبدال, من المهم أن نفهم الأنواع المختلفة من ألواح زجاجية للاستحمام متاح للمركبات الترفيهية. وتشمل الخيارات الشائعة الزجاج المقسى, الزجاج الرقائقي, وألواح الأكريليك.
ألواح من الزجاج المقسى اكتسبت شعبية بسبب متانتها وقوتها. فهي مقاومة للتأثيرات والخدوش, مما يجعلها خيارًا طويل الأمد ومنخفض الصيانة.
ألواح زجاجية مغلفة, على الجانب الآخر, مصممة لتوفير أمان إضافي, لأنها تتماسك معًا حتى عندما تتحطم.
الواح اكريليك تقديم بديل خفيف الوزن وبأسعار معقولة, لكنها قد لا تتمتع بنفس مستوى المتانة مثل الزجاج.
كل نوع له إيجابياته وسلبياته, لذلك من الضروري مراعاة عوامل مثل المتانة, فعالية التكلفة, والأسلوب قبل اتخاذ القرار. أخيرًا, يجب أن يتوافق الاختيار مع احتياجاتك وتفضيلاتك المحددة.
تقييم حالة لوحة زجاج الدش RV:
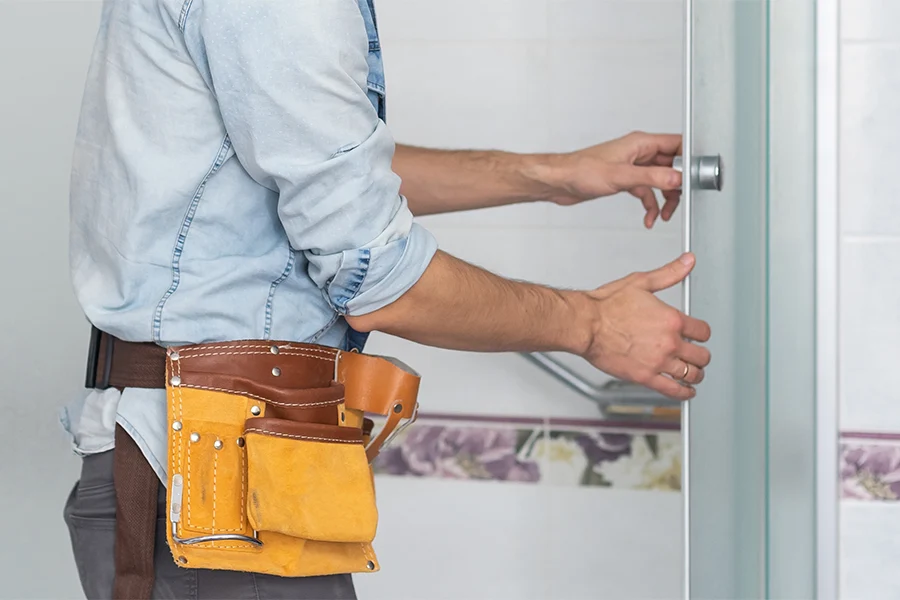
قبل الشروع في عملية الاستبدال, من الضروري تقييم حالة لوحة زجاج الدش الحالية. افحص اللوحة بحثًا عن علامات التآكل, مثل الشقوق, رقائق, أو تغير اللون. هذه مؤشرات على أن الاستبدال ضروري لمنع المزيد من الضرر والحفاظ على وظائف حمامك.
ثفتحة العملية جقائمة الفحص ل استبدل زجاج الدش RV
– قم بقياس وشراء اللوحة الزجاجية الصحيحة:
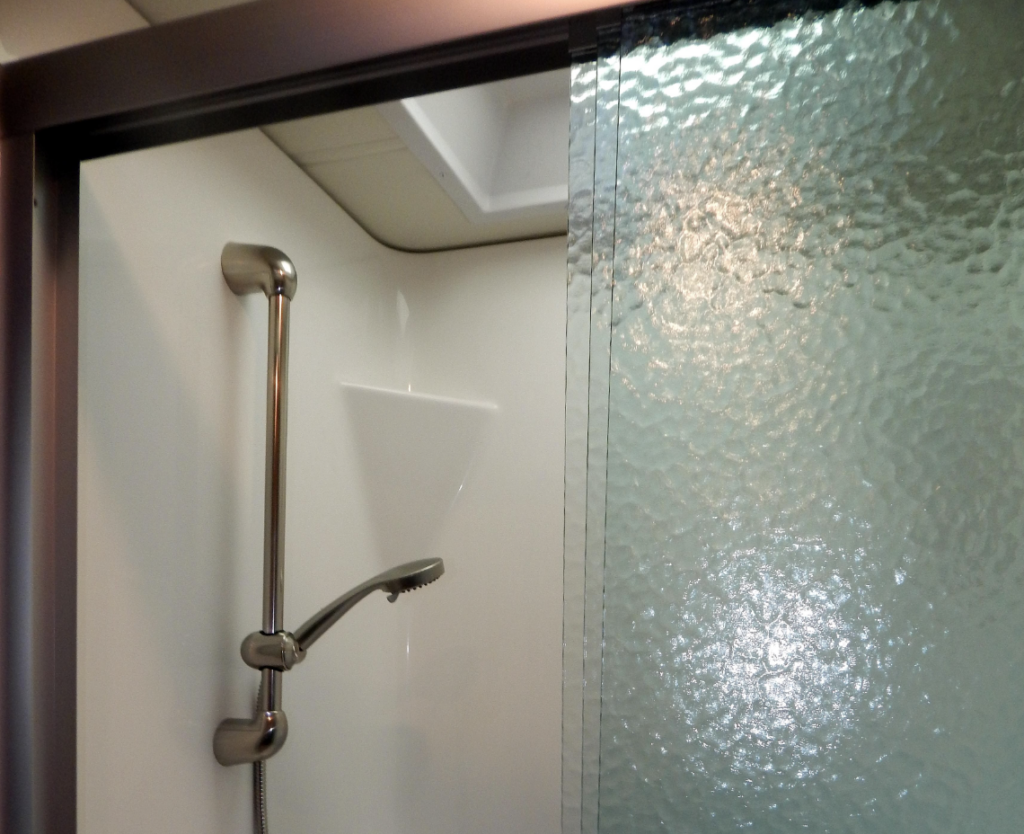
قم بقياس أبعاد لوحة زجاج الدش الموجودة بعناية لضمان شراء البديل الصحيح. قياس الارتفاع, عرض, وسمك اللوحة, بالإضافة إلى أي ميزات محددة أو متطلبات الشكل.
– قم بإزالة اللوحة الزجاجية القديمة:
ابدأ بإزالة أي براغي أو أقواس تثبت اللوحة في مكانها. قم بنزعها بلطف باستخدام سكين المعجون أو أداة مماثلة, مع الحرص على عدم خدش الأسطح المحيطة. قم بتنظيف أي بقايا لاصقة أو مانعة للتسرب متبقية.
– تثبيت أقواس أو دعامات جديدة:
إذا لزم الأمر, قم بتثبيت أقواس أو دعامات جديدة للوحة الزجاجية البديلة. اتبع تعليمات الشركة المصنعة واستخدم الأدوات المناسبة لتثبيت هذه المكونات بشكل آمن على جدران الدش أو الهيكل المحيط.
– تطبيق مادة لاصقة أو مانعة للتسرب:
قبل وضع اللوحة الزجاجية الجديدة, ضع مادة لاصقة مقاومة للماء أو مادة مانعة للتسرب على حواف جدران الدش أو الأقواس. وهذا سيوفر ختم آمن ومقاوم للماء.
– ضع اللوحة الزجاجية الجديدة بعناية:
مع تطبيق المادة اللاصقة أو مانع التسرب, ضع اللوحة الزجاجية البديلة بعناية في المكان المخصص لها. تأكد من محاذاته بشكل صحيح مع أي أقواس أو دعامات.
– تأمين اللوحة في مكانها:
استخدم البراغي أو المثبتات المناسبة لتثبيت اللوحة الزجاجية الجديدة على الأقواس أو الدعامات. كن حذرا حتى لا تبالغ, لأنه قد يتسبب في تلف الزجاج.
– تنظيف وتفتيش:
قم بتنظيف سطح اللوحة الزجاجية المثبتة حديثًا باستخدام منظف أو منظف زجاج غير كاشط. افحص المنطقة المحيطة بحثًا عن أي علامات تلف أو تسرب, وإجراء أي تعديلات أو إصلاحات ضرورية.
– ضع مادة مانعة للتسرب مقاومة للماء:
لمزيد من تعزيز الختم ومنع تسرب المياه, ضع مادة مانعة للتسرب مقاومة للماء حول حواف اللوحة الزجاجية. اتبع إرشادات الشركة المصنعة فيما يتعلق بالتطبيق ووقت التجفيف.
– اختبار الوظائف والتسريبات:
قم بتشغيل الماء في الحمام لاختبار وظيفة اللوح الزجاجي الجديد. تحقق من عدم وجود أي تسرب أو تسرب للمياه حول الحواف أو المفاصل. إذا تم الكشف عن أي مشاكل, قم بإجراء التعديلات اللازمة أو اطلب المساعدة المهنية.
اللمسات الأخيرة والتخصيص:
لتعزيز مظهر ووظيفة اللوحة الزجاجية الجديدة بشكل أكبر, فكر في إضافة اللمسات الأخيرة وخيارات التخصيص. يمكن للعناصر الزخرفية مثل التصاميم المحفورة أو الزجاج المصنفر أن تضيف لمسة من الأناقة. بالإضافة إلى ذلك, الاستثمار في ميزات تعزيز الخصوصية مثل الستائر أو أفلام الخصوصية يمكن أن يوفر إحساسًا بالعزلة مع الحفاظ على الأداء الوظيفي.
نصائح لإطالة عمر لوحة زجاج الدش RV
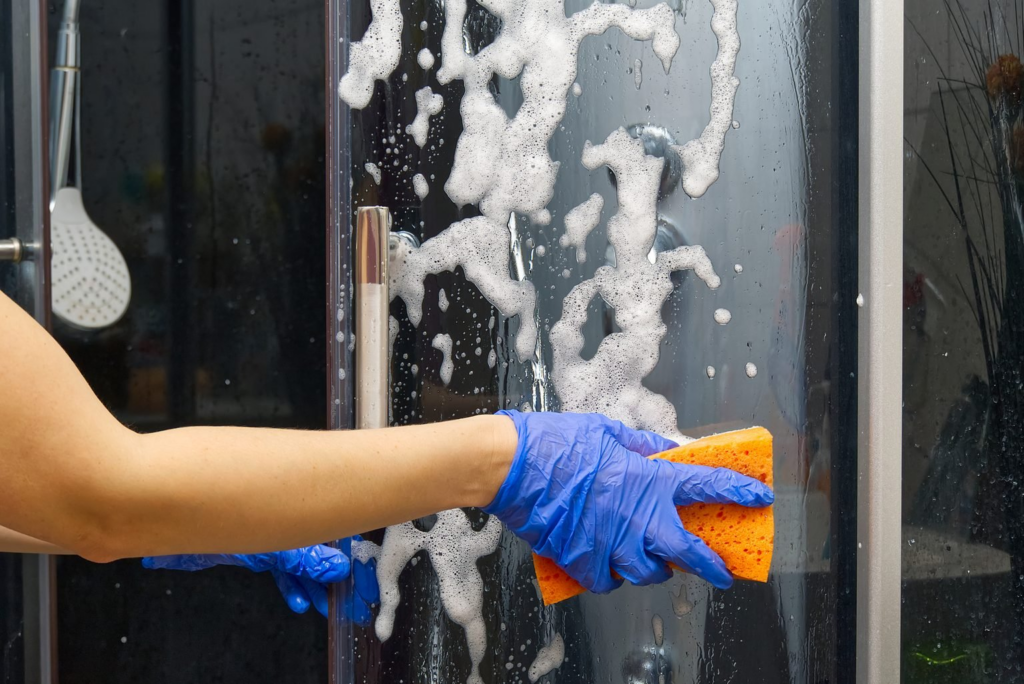
لإطالة عمر اللوحة الزجاجية المثبتة حديثًا, الصيانة الدورية أمر بالغ الأهمية. قم بتنظيف اللوحة باستخدام منظفات غير كاشطة وأقمشة ناعمة لتجنب خدش السطح. بالإضافة إلى ذلك, فكر في استخدام تدابير وقائية مثل وضع طبقات واقية لتقليل تراكم زبد الصابون وبقع الماء. يمكن أن تساعد عمليات التفتيش المنتظمة في تحديد أي مشكلات محتملة في وقت مبكر ومنع حدوث أضرار كبيرة.
استكشاف المشكلات الشائعة وإصلاحها مع ألواح زجاج الدش RV:
في حين أن لوحة زجاج الدش التي تم تركيبها وصيانتها بشكل صحيح يمكن أن توفر تجربة سلسة, قد تنشأ بعض القضايا المشتركة.
مشاكل مثل يمكن أن تؤدي الأجهزة السائبة أو الختم المخترق إلى تسرب المياه. لمعالجة هذه القضايا, تأكد من تشديد اللوحة بشكل آمن ومعالجة أي ثغرات في الختم. سيساعد الفحص المنتظم لأية مشكلات محتملة ومعالجتها في الحفاظ على وظائف اللوحة الزجاجية لديك.
خاتمة:
يعد استبدال لوحة زجاج الدش RV بمثابة ترقية تحويلية يمكن أن تعزز تجربة حمامك بشكل عام. من خلال النظر في عوامل مثل نوع اللوحة, عملية التثبيت, ونصائح الصيانة, يمكنك ضمان ترقية سلسة وطويلة الأمد. اتخذ إجراءً اليوم واستمتع بمزايا لوحة دش RV الزجاجية الجديدة - ارفع نمط حياتك في عربة سكن متنقلة واستمتع برفاهية الحمام العملي المصمم جيدًا.


